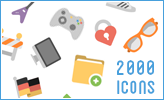
Minimalistic design never goes out of style. These icons will look great with clean and minimal web designs. All of them are monochromatic, you can put different colors, create your own letterpress and different effects. Mini Icons are now free for download. Over 1,000 of them are vector icons, they are completely scalable, and can be used widely in your user interface, package labels, sticker, mobile apps, and more.

Requirements: –
Demo: http://thesquid.ink/mini-icons/
License: License Free
Attendize is a free, open-source & self-hosted ticket selling and event management platform. You can add custom event posters, text and social sharing options to your event pages to make them stand out. Refund, search, e-mail, edit, delete, print or export. Attendize has powerful attendee management tools. Attendize has a straightforward and well designed checkout process. Users will have their tickets in just a few clicks. Attendize was designed to work on any sized device, so you can easily manage your events on the go.

Requirements: –
Demo: https://www.attendize.com/
License: License Free
Smartmockups is a new online tool for all designers, marketers and developers out there. With our curated collection of the best free product mockups you can present your design like a boss! It’s really useful when you need to present your design to a client or just showcase your work in a portfolio. All mockups are ready for both your personal and commercial projects.�� All you have to do is upload your image and download the final image. Yes, it’s that simple! Enjoy the power of product mockups without opening Photoshop.

Requirements: –
Demo: http://smartmockups.com/
License: License Free
Maybe you’ve already stumbled across mo.js, a very powerful motion graphics library for the web made by Oleg Solomka. You can do tons of awesome things with it and today we’d like to share our take on some icon animations using the library. It would be really great to be able to animate icons easily to look like Twitter’s heart animation. Codrops has shared some Icon Animations with us. The icons that we are animating are actions where it makes sense to have an active state, like for example the “favoriteâ€, “like†or “upvoteâ€. Although, theoretically, you could apply these kind of effects to anything, it really feels more sensible for these kind of actions.

Requirements: –
Demo: http://tympanus.net/Development/Animocons/
License: License Free
Chat is a a minimal mobile UI kit from InVision. Immerse users in minimal, thoughtful designs using Chat’s free iOS app templates, tablet templates, and web templates—available for Sketch and Photoshop. With 60 design templates, 12 categories, and 80 UI components for web, tablet, and mobile, the creative possibilities are endless. Within Chat, you’ll find completely customizable, scalable vector shapes. The high-resolution, retina-ready components are designed to delight, and the grid system keeps everything organized.

Requirements: –
Demo: http://www.invisionapp.com/chat
License: License Free
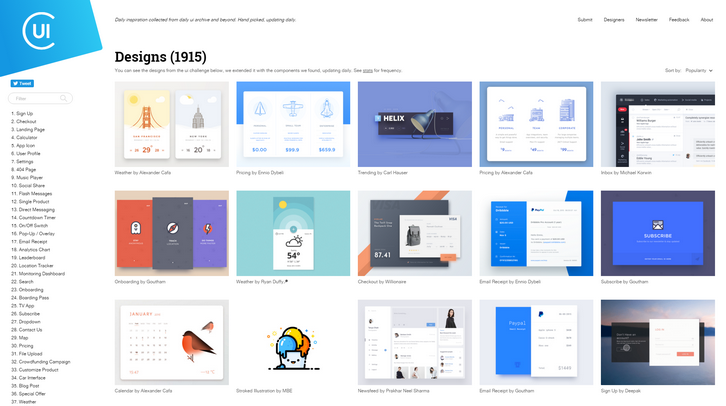
Collect UI is a platform for your daily inspiration collected from daily ui & beyond. Based on Dribbble shots, hand picked. “When browsing Panda’s Dribbble popular feed I often see shots from daily ui challenge getting popular. They look pretty cool and designers are drawn to this activity because of the absence a of client or supervisor pressure. Some people think that daily ui challenge is filling up dribbble with never-ever-used designs, but I see them inspiring in context of layout choices, color palette preference, fonts in use and ui elements in the specific design challenge. Unfortunately these posts fade away once they’re not listed anymore in Dribbble’s popular section. But the challenges chosen are so good that you they serve as a great source of inspiration.” Panda Network said.
Requirements: –
Demo: http://collectui.com/
License: License Free
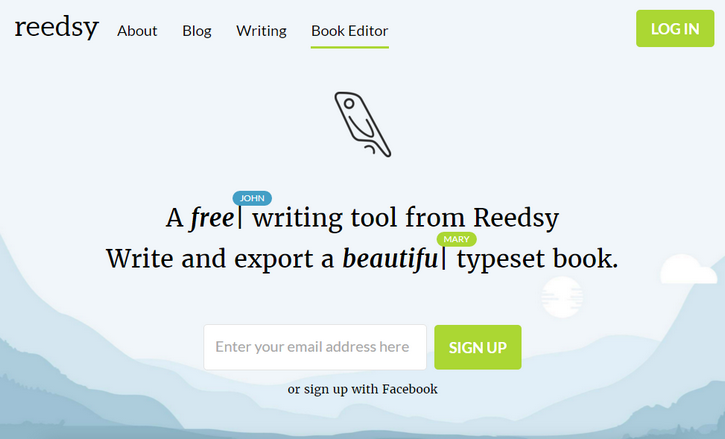
Reedsy is a beautiful production tool that takes care of the formatting and conversion, before you have even finished writing. A beautiful interface built for distraction-free writing. The style guide toolbar keeps you in control of your formatting, as you write. When it comes to typesetting, consistency is key. Exported files are ready for instant distribution to ebookstores and POD services with IngramSpark, Amazon Kindle Direct Publishing, Apple iBooks and Kobo Writing Life.
Requirements: –
Demo: https://reedsy.com/
License: License Free
Muzli 2 is connecting passionate people with the inspiration that drives them. By default, Muzli will load only the bare minimum of content and wait for you to show interest before fetching the entire feed. In addition, you now have access to the normal stuff available in the default Google new tab; like quick links to your most visited website and a regular ol’ Google search.
For those of you who prefer seeing everything, every time, like you’re used to- the option to disable the minimal view is accessible through the options in the user menu on the to right corner.
Simply hover over the sidebar to reach the “Edit†menu and enable, disable or reorder your favorite sources. You can fine tune your source list at any time and the changes you make are reflected immediately. Every post includes a number which indicates how viral/popular it is. They aggregate the number of social media signals from almost all of the relevant sources including Facebook, Google, Pocket and many more. Try the Muzli 2, we think it’s awesome & it’s completely free!

Material is a graphics and animation framework for Google’s Material Design. It is designed to allow the creativity of others to easily be expressed. It includes Fully Configurable UI Components, Base Material Layers & Material Views To Create New UI Components, Side Navigation View Controller, Navigation Bar View, Material Buttons, Material Card Views, Camera / Video , Extension With Extensive Functionality, Layout Library To Simplify AutoLayout, Animation Extension To Create Intricate Animations, Complete Material Color Library and Example Projects.

Requirements: Swift
Demo: https://github.com/CosmicMind/Material
License: License Free
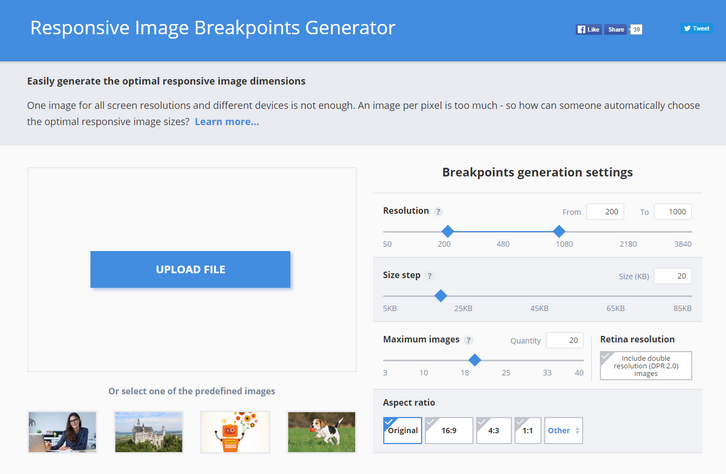
One image for all screen resolutions and different devices is not enough. An image per pixel is too much – so how can someone automatically choose the optimal responsive image sizes?
Responsive websites, even the most modern ones, often struggle with selecting image resolutions that best match the various user devices. They compromise on either the image dimensions or the number of images. It’s time to solve these issues and start calculating image breakpoints more mathematically, rather than haphazardly.
Responsive web design requires developers to determine the image dimensions that best fit their website. This breakpoints generator tool helps developers automatically find the optimal image sizes needed for the best viewing experience in web and mobile apps on a variety of screen sizes.
Common responsive image solutions tend to generate images based on a fixed set of image width values, disregarding the actual saving in file size bytes. To solve this problem, Responsive Image Breakpoints Generator uses Cloudinary’s advanced algorithms to easily generate best matching breakpoints for each uploaded image.
The algorithmic concept is to find image width values that offer a significant reduction in file size. Images are analyzed to find the best breakpoints on an image by image basis, rather than creating all possible image resolutions, and enables developers to easily create ‘picture’ and ‘img’ HTML5 elements based on the calculated breakpoints.
Requirements: –
Demo: http://www.responsivebreakpoints.com/
License: License Free